Home
Education
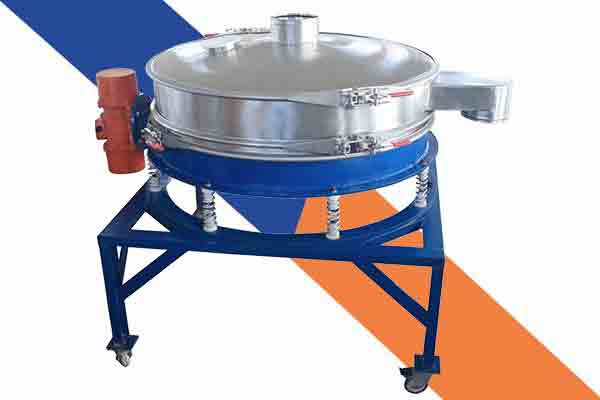
เครื่องคัดแยกโลหะคืออะไร ดีอย่างไร มาดูกัน
เครื่องคัดแยกโลหะ หรือ…
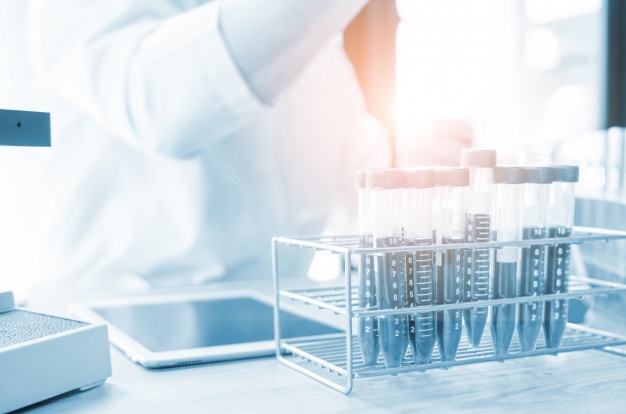
ถ้าเราไม่เก็บ และ ดูแล อุปกรณ์ในห้องแล็ป จะเกิดอะไรขึ้นบ้าง ?
อุปกรณ์ในห้องแล็ป นั้นเป็นหนึ่งในอุปกรณ์ที่เราได้ยินมาตั้งแต่เด็ก…

การเรียนภาษาเพิ่มเติมถือว่าเป็นกำไรให้กับตนเองด้วย
ในปัจจุบันนี้ทุกบริษัทต้องการภาษาที่สามเพื่อที่จะต้องใช้ในการที่จะติดต่อสื่อสารทุกสิ่งทุกอย่างหรือทุกเรื่องนั้นเป็นเรื่องที่เราเองไม่ควรที่จะมองข้ามเลยเราเองควรที่จะให้ความสนใจและใส่ใจในเรื่องของการศึกษาถึงจะเป็นเรื่องที่ดีที่สุด เรื่องไหนที่เราเรียนไปแล้วชอบหรือมีความสุขเราก็ควรที่จะเรียนให้เต็มที่…
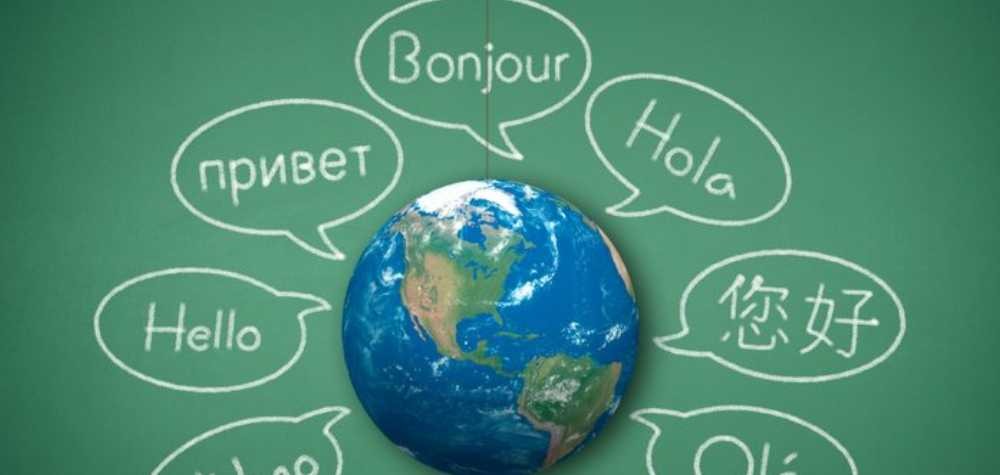
ภาษาที่สามทุกบริษัทกำลังต้องการอย่างมาก
ในปัจจุบันนี้การทำงานในโลกปัจจุบันต้องการภาษาเป็นจำนวนมากโดยเฉพาะภาษาที่สามอย่างเช่นภาษาจีน นอกจากภาษาอังกฤษเป็นภาษาที่เราต้องใช้อยู่ในทุกวันแล้วภาษาที่สามในตอนนี้ก็มีความนิยมมากยิ่งขึ้นอีกด้วยเพราะว่าในตอนนี้มีแต่คนที่อยากจะให้เราประสบความสำเร็จในหน้าที่การทำงานการที่เลือกภาษาที่สามนั้นก็จะยิ่งได้เปรียบมากยิ่งขึ้นไป…
Lifestyle

กฏหมายเกี่ยวกับเรื่องของที่ดินที่ควรรู้
ทำไมที่ดินในกรุงเทพต้องเสียภาษี แต่ต่างจังหวัดไม่ต้อง
เรื่องของ “ภาษี”…

วิธีการสังเกตที่ดินที่จะมีการเติบโตทางเศรษฐกิจ

สิ่งที่ควรรู้ก่อนรีโนเวทบ้าน
สถานที่พักผ่อนของทุกๆ คน…
Art

รวม 5 ลายสักสุดคิวส์ สไตล์มินิมอล
การสัก ในปัจจุบันถือเป็นเทรนด์แฟชั่นที่ได้รับความนิยมทั้งหญิงและชาย…
เครื่องคัดแยกโลหะคืออะไร ดีอย่างไร มาดูกัน
เครื่องคัดแยกโลหะ หรือ…
Job

รวม บริษัทรับจัดหาพนักงาน ที่ดีที่สุดในปี 2019
ก่อนที่เราจะพาเพื่อนๆ ไปดูลิสต์รายชื่อบริษัทรับจัดหาพนักงาน…